


If you have priced a professional video wall lately, you know the sticker shock is real. That is exactly why the DIY approach in this guide has become so popular: build a big-screen wall out of regular TV screens, at a fraction of the cost of a dedicated LED wall.
Can you really pull it off? Often, yes — for the right room, the right budget, and the right duty cycle. This guide walks you through the whole build: what the parts cost in 2026, how to mount and connect the screens, how to configure a video wall controller, and — just as important — the points where TV screens stop being the right tool and a professional LED wall becomes the smarter buy.
Quick answer: a 2×2 wall of four 55-inch TVs typically lands between $1,500 and $4,000 all-in and takes a confident DIYer a weekend to build. It works well indoors, for a few hours a day, where visible bezels are acceptable. If you need a seamless image, outdoor brightness, or 24/7 operation, skip ahead to the DIY vs professional LED wall comparison — that is where the math gets interesting.
Understanding LED Walls and Multi-TV Screen Displays
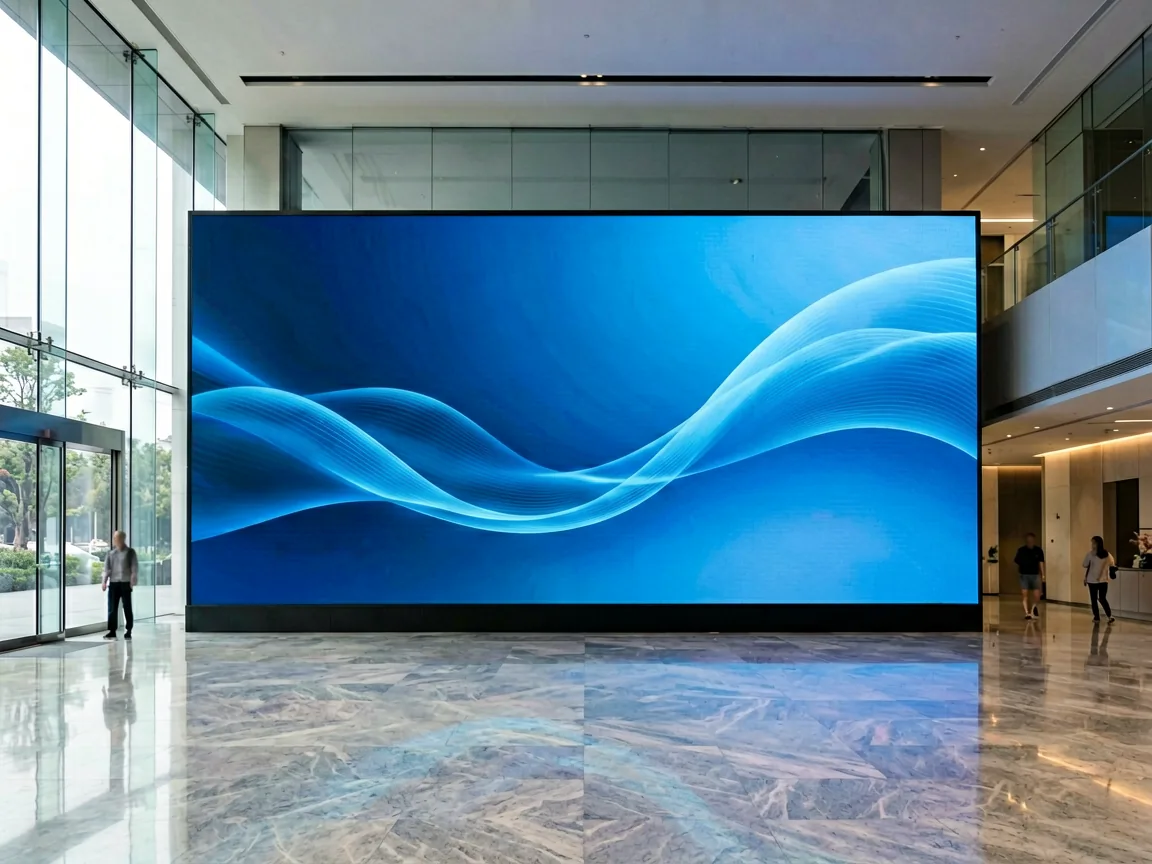
LED walls are the displays you see in shopping malls, airports, and stadiums: separate LED modules locked together into one big, seamless canvas. They shine brightly, show crisp images, and handle changing content around the clock.
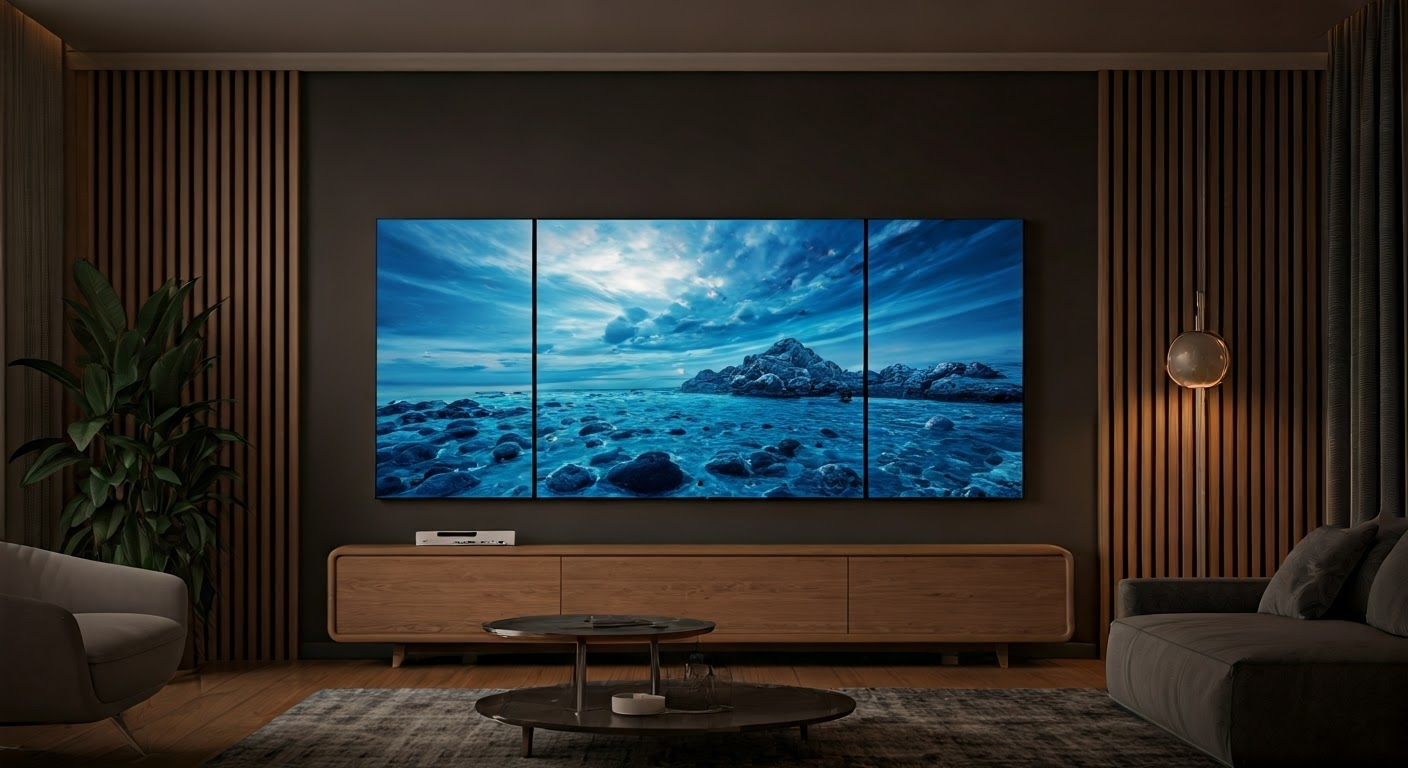
A multi-TV screen display takes a different route: several ordinary televisions, arranged in a grid and fed one image, form a large connected viewing area. With thin-bezel screens and careful alignment, the result can look surprisingly close to a dedicated video wall — for far less money.
The Basics of LED Wall Technology
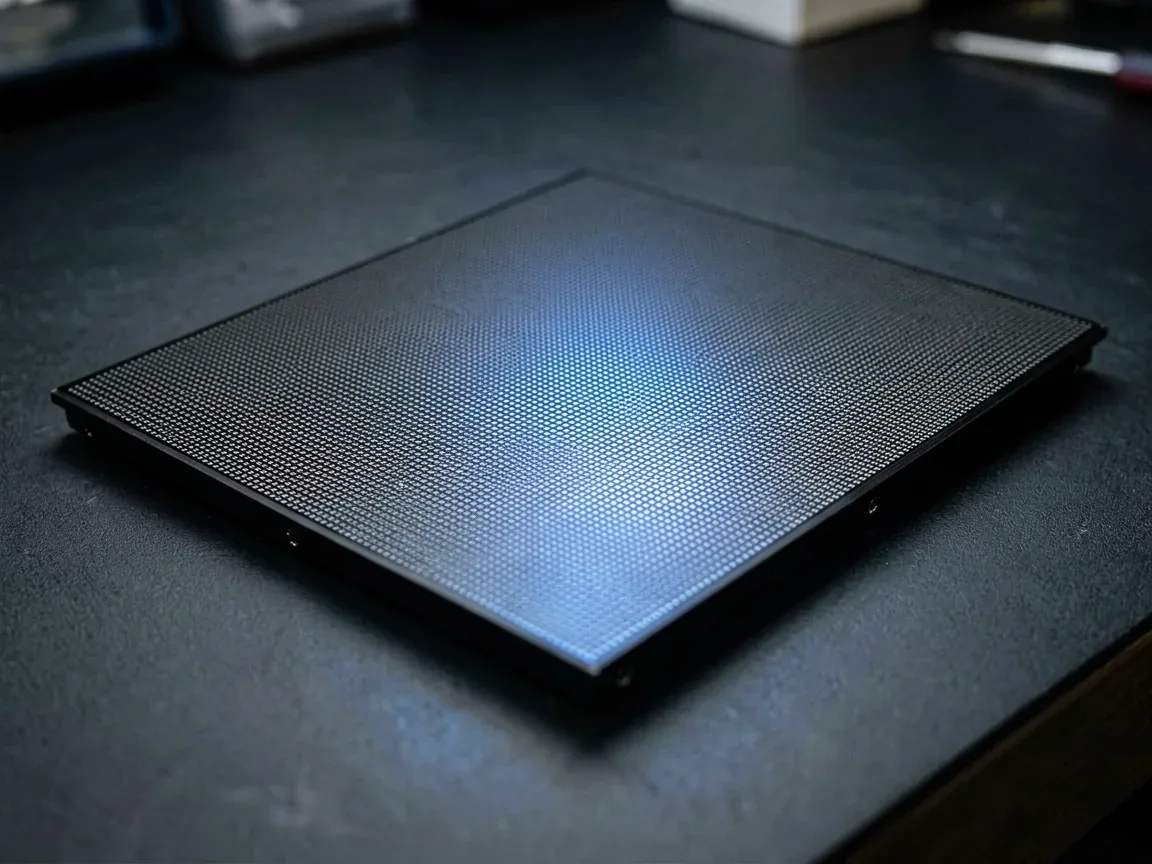
LED wall technology uses light-emitting diodes — tiny semiconductors that light up to create bright colors. The diodes are arranged in pixels, and the pixels come together to form modules. These LED modules are the basic building blocks of an LED wall.
A video wall processor is just as important. It takes input signals — usually from media players or computers — and splits, maps, and syncs them so playback flows smoothly across the entire display surface. High refresh rates and strong contrast ratios are what make LED walls look lively on camera as well as in person.
LED Wall vs Multi-TV Screen: The Real Differences
A direct-view LED video wall creates one continuous image by linking many LED panels together. A multi-TV setup uses separate screens, which means visible gaps — bezels — breaking up the picture. LED walls are driven by a video wall processor for full control; multi-TV walls often get by with an HDMI splitter, though a proper controller gives better results.
Here is the difference in practical terms:
| Feature | Direct-view LED wall | Multi-TV screen wall |
|---|---|---|
| Display surface | One seamless canvas, no bezels | A grid of screens with visible bezels |
| Brightness | 600–1,000 nits indoors; 4,500+ nits outdoors | 200–400 nits for typical consumer TVs |
| Duty cycle | Rated for 24/7 operation | Consumer TVs are rated for a few hours a day |
| Viewing distance | Sharp from a few meters away (pitch-dependent) | Bezels visible up close; best from several meters |
| Custom shapes/sizes | Any size in 500 mm cabinet steps, curves possible | Locked to TV aspect ratios and sizes |
| Cost driver | Priced per square meter | Priced per screen |
Why Builders Choose Multiple TV Screens
The main reason is cost. Repurposing existing TVs, or buying regular ones on sale, saves a lot of money while still delivering real visual impact. The approach is also flexible: need a bigger wall later? Add more screens. Need to move it? Unbolt it and rebuild.
Done well, a multi-TV wall can also carry a brand — product demos, social media feeds, presentations — with an effect that sticks with viewers. The honest caveat: it will never be truly seamless, and consumer TVs are not built to run all day, every day. Keep those two limits in mind as you plan.

What a DIY TV Wall Actually Costs in 2026
Budget talk is where most guides go vague, so here are real ranges. The classic starter build is a 2×2 wall of four 55-inch TVs — roughly 2.4 m wide by 1.4 m tall (about 3.3 m² of display). Expect to budget roughly:
| Component | Typical range (USD) | Notes |
|---|---|---|
| 4× 55″ TVs | $1,000–2,400 | Buy the same model in the same batch; thin bezel if possible |
| Video wall mounts | $100–400 | Use proper video-wall mounts with depth/level adjustment, not basic tilting mounts |
| HDMI splitter or video wall controller | $30–600 | A splitter clones one image; a controller slices and scales it across the grid |
| Cables, power, cable management | $50–150 | High-speed HDMI plus power strips and raceways |
| Optional installation help | $200–500 | An extra pair of hands or a handyman for an afternoon |
| Total, 2×2 build | ≈ $1,400–4,000 | Call it $1,500–4,000 with small surprises |
A 3×3 wall of nine screens scales the screen cost by roughly 2.2× and usually pushes you from a cheap splitter to a real video wall controller, so a sensible planning figure is $3,000–7,000. Two hidden costs catch DIYers off guard: content (somebody has to design and schedule it) and failures (one dead TV means color-matching a replacement that may no longer be in production).
Want real numbers for a seamless wall? Send us your wall size and target pixel pitch — we reply with exact LED wall pricing within one business day.
DIY TV Wall vs Professional LED Wall: An Honest Comparison
So how does a DIY TV wall stack up against a real LED wall from a manufacturer? Here is the side-by-side we give our own customers.
| Factor | DIY multi-TV wall | Professional LED wall |
|---|---|---|
| Upfront cost (≈3 m²) | ≈ $1,400–4,000 in parts | Roughly $500–1,000+ per m² hardware direct from a manufacturer, plus processor and install |
| Picture seams | Visible bezels at every screen edge | None — one continuous image |
| Brightness | 200–400 nits; washes out near windows | 600–1,000 nits indoors; 4,500+ nits outdoors |
| Image uniformity | Varies panel to panel, even in the same batch | Color- and brightness-calibrated across the wall |
| Lifespan | TVs typically fade to half brightness around 30,000 hours | LED walls are typically rated around 100,000 hours |
| 24/7 operation | Not rated for it; burn-in and early failures are common | Engineered for continuous duty |
| On camera | Moiré and banding risk; bezels show in shots | High refresh (3,840 Hz+) film-free for broadcast and livestreams |
| Warranty & service | One warranty per TV, no wall-level support | Whole-wall warranty, spare modules, remote diagnostics |
| Content & scaling | Splitter clones or basic slicing; layouts are rigid | Processor handles any layout, PIP, and live inputs |
| Best for | Indoor, short-duty, budget or temporary builds | Client-facing spaces, long hours, outdoor, rental & staging |
Here is the part most DIY guides will not tell you: at today’s direct-from-manufacturer pricing, a small indoor LED wall and a decent DIY TV wall land in a surprisingly similar cost range once you include a processor and installation. The TV route only wins clearly when you already own the screens, need the wall temporarily, or accept bezels for a low-hour room. That is why the comparison below matters more than the price tag alone.
When DIY Makes Sense — and When to Call a Manufacturer
We are a manufacturer, and we will still tell you: sometimes the TV route is the right call. The key is knowing which side of the line your project falls on.
A DIY TV wall makes sense when:
- The wall is small — a 2×2 or 3×3 grid indoors
- It runs a few hours a day, not 24/7
- You already own some or all of the TVs
- Visible bezels do not bother you or your audience
- It is a temporary, seasonal, or experiment-first installation
Call a manufacturer when any of these is true:
- The display faces customers — lobbies, showrooms, retail, trade show booths
- The wall runs all day or around the clock
- It goes outdoors, in sunlight, or in a bright window wall
- You need one picture with no bezels — video, branding, or camera work
- The wall is larger than about 110 inches diagonal, where LED cost per square meter keeps falling while bezel count keeps rising
- You need one warranty, spare parts, and someone to call at 2 a.m. before an event
Seeing your project in that second list? Send us the wall size and location — we will tell you honestly whether LED is worth it, and what it costs.
Preparing to Create Your LED Wall
Before any construction starts, careful planning decides whether the build looks professional or improvised. Think through the display’s purpose, who will see it, and where it will live. Then measure the space and draw a clear layout plan: how many screens, how arranged, and where power outlets and cables will run.
Equipment and Tools You’ll Need
Gather these before you start — mid-build shopping trips are where walls go crooked:
- TV Screens: Pick identical models — same size, same resolution, same panel generation. Thin bezels give a cleaner look; high-brightness commercial displays help in bright rooms.
- Mounting brackets: Choose video-wall-specific brackets with depth and level adjustment, matched to your screens and wall material.
- HDMI splitter and cables: A splitter sends one signal to many screens. Use high-speed HDMI cables rated for your resolution.
- Video wall controller: This is the device that slices and syncs the image across the grid. Our video wall controller buying guide covers what to look for at each budget.
Measuring and Planning Your Space
Accurate measurement separates a tight, professional-looking wall from a patchwork. Use a tape measure or laser measure to capture the exact wall area, then work out your grid: screen count, layout (2×2, 3×3, or custom), and the total width and height including bezels.
Factor in viewing distance — the closer the audience, the more the bezels and resolution matter. Sketching layouts on paper or in free planning software helps you see the final design before drilling a single hole. Mark where electrical outlets and network connections are, and plan the cable runs now, not later. Our guide on how to measure LED screen size walks through the same math for wall dimensions and viewing angles.
Step-by-Step Guide to Building an LED Wall
Turning the plan into a working wall comes down to four stages:
- Preparation: Collect all equipment and measure the space.
- Mounting: Attach the screens to the wall with proper brackets — level and evenly spaced.
- Connection: Link the screens to the video wall controller with HDMI cables, following the maker’s instructions.
- Configuration and testing: Set up the controller for your layout and resolution, then test for uniformity, synchronization, and performance.
Step 1: Selecting the Right TV Screens
Look for thin bezels first — they shrink the grid lines between screens. Thin-bezel models cost a little more, but they are the difference between “wall of TVs” and “almost a video wall”.
If the room gets a lot of light, choose high-brightness displays: brightness is measured in nits, and 500 nits is a sensible floor for lit indoor spaces. Resolution matters for close viewers — if you are unsure how panel resolution maps to picture detail, our guide on how to calculate LED screen resolution explains the math, and it applies to TVs just the same. One rule overrides everything else: buy the same model, from the same production batch if you can, so color and brightness match across the grid.
Step 2: Mounting Your Screens Securely
Secure mounting protects both your investment and anyone standing near it. Use brackets made for video-wall use, matched to the screens and the wall material — drywall anchors alone will not carry four 55-inch TVs.
Before drilling, mark every bracket position with a level; a one-degree error at screen one becomes a visible staircase by screen four. Have a second person hold each screen while it goes up, wear proper safety gear, and stay careful with power tools and ladders.
Step 3: Connecting and Configuring Your TVs
Connect each screen to the video wall controller with quality HDMI cables. Most controllers offer several HDMI inputs, which allows different display setups. Power everything on, then open the controller’s menu or software to configure: screen count, layout (2×2, 3×3), and output resolution. Our deep-dive on video wall controllers explains the settings in detail.
Look for a bezel compensation feature: it stretches the picture slightly to account for the hidden strips behind the bezels, so the image does not look pinched at every grid line.
Step 4: Testing for Uniformity and Performance
Before you call the build finished, test it properly. Display a solid color across all screens at once and look for differences in color, brightness, or sharpness — this is where mismatched panels reveal themselves. Then play varied content and switch between sources to check synchronization.
| Test Aspect | Description | Expected Outcome |
|---|---|---|
| Uniformity | Display a solid color across all screens | Consistent color and brightness |
| Synchronization | Play a video with synchronized audio across all screens | No lag or audio-video misalignment |
| Transitions | Switch between different content sources | Smooth and seamless transitions |
Two Real-World Video Wall Examples
A 3×3 Video Wall at a Trade Show
Picture a busy trade show booth: a technology company shows off its new products on a smooth 3×3 video wall — nine screens blending into one large display. Product demos play on the center screens while the outer screens cycle bright graphics and brand messages. Behind the scenes, media players feed a video wall controller that keeps everything in sync, pulling visitors in from across the hall. This is the multi-screen approach working exactly as intended: high impact, controlled budget, and an audience standing several meters away where the bezels disappear.

A 4×4 TV Wall in a Sports Bar
In a busy sports bar, sixteen TVs sit in a 4×4 grid, showing live games and replays. Up close you can see the gaps between screens; from the bar, the effect is a single commanding wall of sports. Each TV can also break out to its own channel — something a seamless LED wall cannot do — which is exactly why the owner chose TVs. It is a useful reminder: the right choice depends on the job, not just the technology.

Frequently Asked Questions
Can different brands of TV screens be used together?
They can work together, but the same brand and model always looks better. Different panels vary in color and brightness even after you tweak their settings. If you must mix brands, at least keep the screen sizes and resolutions identical for a cohesive grid.
How much does it cost to build a video wall with TVs?
A 2×2 wall of four 55-inch TVs typically costs $1,500–4,000 all-in, including mounts, a splitter or controller, and cables. A 3×3 wall usually runs $3,000–7,000 because nine screens push you from a cheap splitter to a real video wall controller.
Is a TV video wall as good as a real LED wall?
For bright, client-facing, or always-on installations, no — TVs lose on brightness, seams, lifespan, and duty cycle. For a small indoor wall that runs a few hours a day, a TV wall delivers much of the impact at a lower price, and that trade can be worth it.
How many TVs can you connect in a video wall?
It depends on the controller. A basic HDMI splitter handles a 2×2 with one cloned or sliced image; a dedicated video wall controller commonly manages 3×3 and beyond. Past roughly nine screens, professional processors or an LED wall become the practical option.
What size TV is best for a video wall?
55-inch TVs are the sweet spot for most DIY walls — big enough for impact, light enough for two people to mount, and available in thin-bezel models. Whatever size you choose, use the same model across the whole grid so brightness and color match.
How do I manage cables for a clean setup?
Use cable ties, raceways, or in-wall conduit to group and hide the HDMI and power runs. Plan the routes before mounting — cables added afterward are what make an otherwise clean wall look messy, and loose cables are a trip hazard.
What solutions exist for synchronizing content across multiple screens?
A video wall controller is the standard answer: it takes input from media players or computers, divides and syncs the content, and keeps everything playing together across the grid. HDMI splitters handle simple cloning; controllers handle slicing, scaling, and layouts.
When should I choose a professional LED wall instead of TVs?
Choose LED when the wall faces customers, runs long hours, lives outdoors or in bright light, needs a seamless image, or grows past about 110 inches diagonal. At that point a direct-from-manufacturer LED wall typically costs about the same as a comparable TV build and lasts far longer.
Conclusion: Build Smart, and Know When to Upgrade
Creating an LED wall using multiple TV screens is a genuinely rewarding build: plan the space, buy matching screens, mount them level, feed them through a proper controller, and test until the grid behaves like one display. For the right room, it is the best display per dollar you can assemble yourself.
And when the project outgrows what TVs can do — more brightness, no bezels, longer hours, one warranty for the whole wall — that is the moment to price a real LED wall. You now know exactly what both routes cost and what each one is good at, so whichever way you go, it will be an informed choice.
Ready to compare the LED route? Send us your wall dimensions — pricing, pitch advice, and honest guidance in one reply.
